Deploy Rails Applications on Google Cloud with Cloud Run
Tutorial Overview
You can deploy your Rails application on Google Cloud Platform.
I'll show you how to do it using Google's serverless compute solution called Cloud Run.
This tutorial is less about the Rails application (a basic photo album of cat pictures) and more about the process of deploying it on Google Cloud.
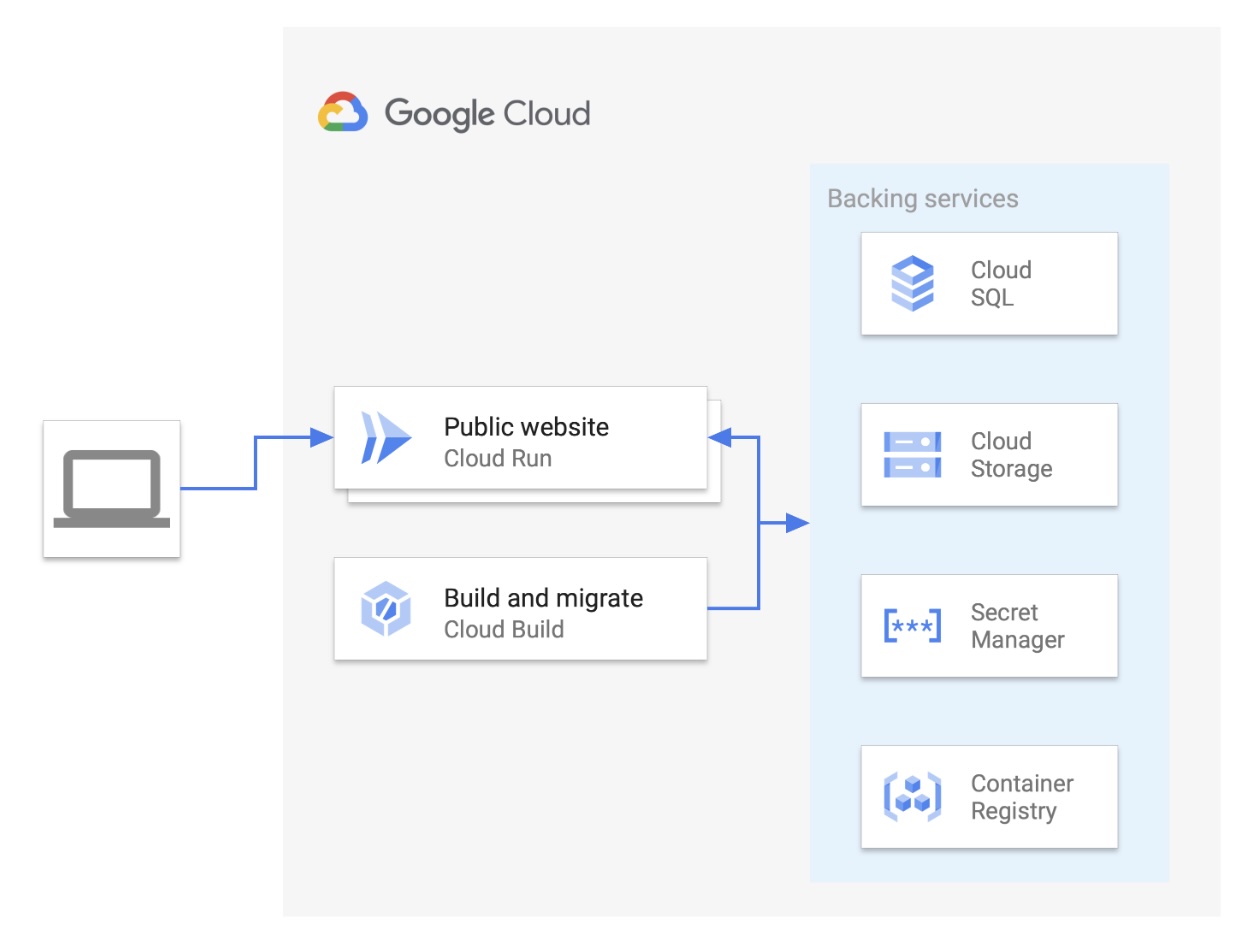
We'll be using this Architecture and running the following Google Cloud services to deploy a containerized Rails Web Application:
If you're more interested in learning how to build a Rails application, I'd recommend using this excellent Blog tutorial.
Start Google Cloud Project
If you can, sign-up for the 90 day $300 credits free trial to reduce the risk of incurring Google Cloud Platform charges from running Cloud services.
Login to the Google Cloud Console:
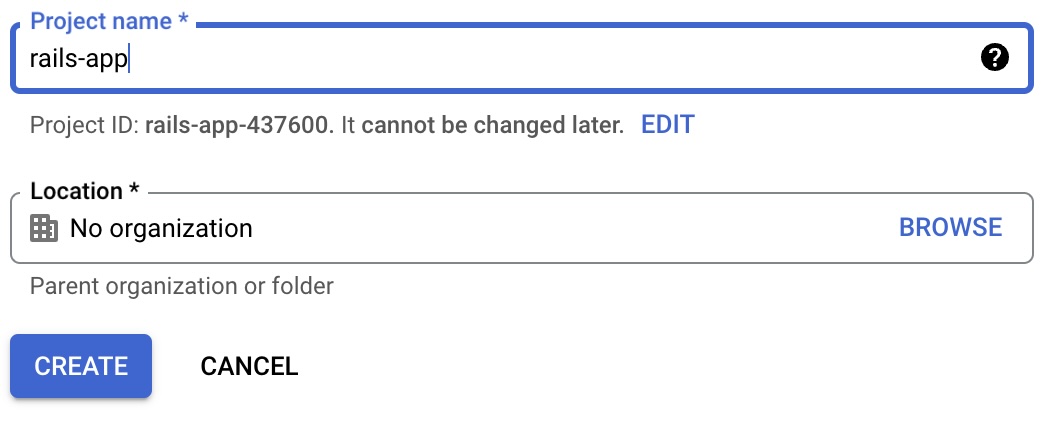
Create a Project, which creates an ID to track costs against.
Head to Billing. Check the sidebar on the left, click budgets and alerts.
Select your new Project and create a simple budget with alerts to prevent excessive spending.
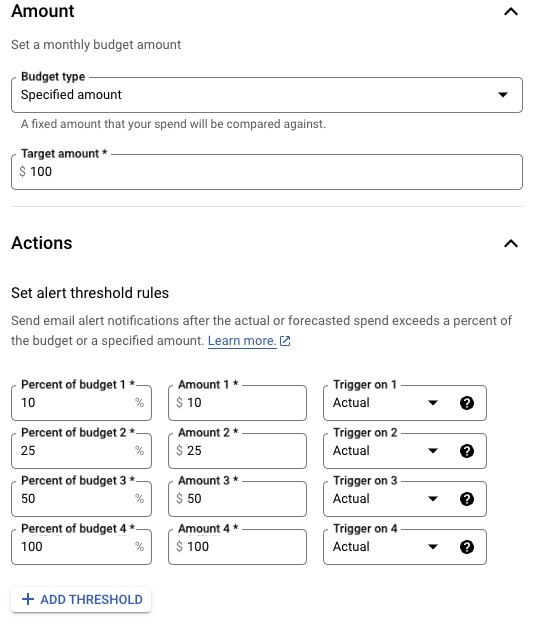
Both of these steps are optional but can help you to prevent unexpected bills.
Enable APIs & Install Rails App
With those guard rails in place, select your new Project and type in API library.
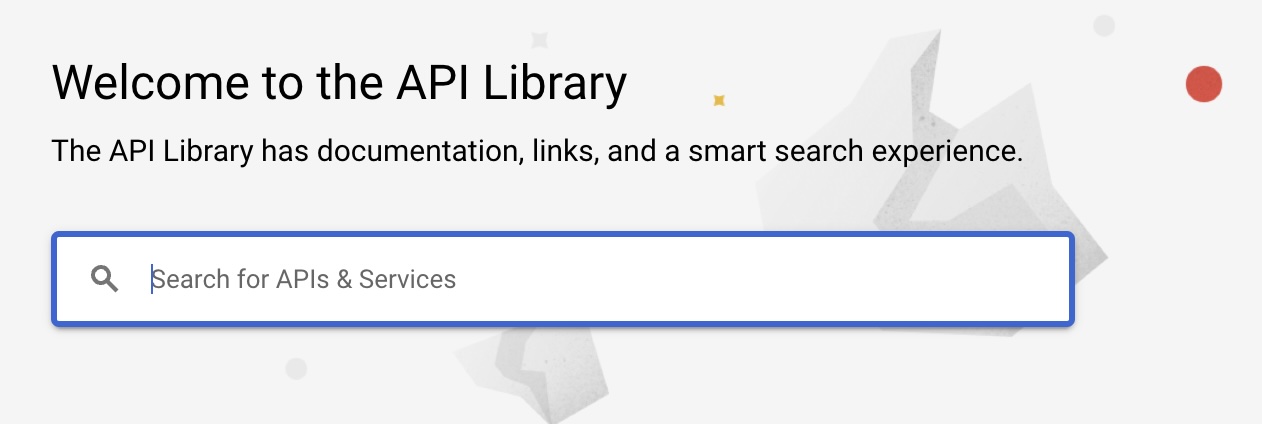
Search for and enable the following APIs that we'll be using in our Project:
- Cloud Run
- Cloud SQL Admin
- Cloud Build
- Secret Manager
- Compute Engine
With our APIs enabled, now click on the terminal icon at the top of the console to enter cloud shell.
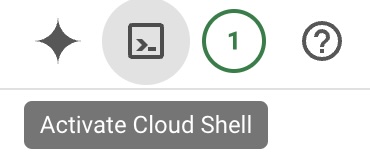
In the console, you'll be writing bash and gcloud commands.
Clone the respository containing our Rails app sample created by Google:
git clone https://github.com/GoogleCloudPlatform/ruby-docs-samples.git
Navigate to the rails app:
    cd ruby-docs-samples
    cd run
    cd rails
And run:
bundle install

Setup Cloud SQL for PostgreSQL Database
We're now going to setup our database, Cloud SQL for PostgreSQL because Rails supports relational databases.
First lets create reusable variables to save us time in the shell:
    INSTANCE_NAME=matz
    DATBASE_NAME=dhh
    Region=us-west1
    DB_USERNAME=wooyakob
With those variables, we'll run a gcloud command to create our instance:
    gcloud sql instances create $INSTANCE_NAME \
      --database-version POSTGRES_12 \
      --tier db-g1-small \
      --region $REGION
We'll then create our database in the instance:
    gcloud sql databases create $DATABASE_NAME \
      --instance $INSTANCE_NAME
We then need to setup our username and password for a database user:
Generate a random password and save it to a file called "dbpassword" by running:
cat /dev/urandom | LC_ALL=C tr -dc '[:alpha:]'| fold -w 50 | head -n1 > dbpassword
Run gcloud command to create our user and set the password to be the contents of our created file:
    gcloud sql users create $DB_USERNAME \
      --instance=$INSTANCE_NAME --password=$(cat dbpassword)

Create Cloud Storage Bucket
Lets create our cloud storage bucket that can store our user uploaded cat pictures:
Set variable:
BUCKET_NAME=cat-photos-album
Run command:
gsutil mb -l us-west1 gs://$BUCKET_NAME

Set image persmissions to readable so they're publicly accessible:
gsutil iam ch allUsers:objectViewer gs://$BUCKET_NAME
Access Credentials Securely
We need to ensure our Rails app and Google Cloud services are accessing credentials securely.
For that we'll use Rails credentials and secret manager.
In the console, open up the nano editor:
EDITOR="nano" bin/rails credentials:edit
Add this to the end of the file:
    gcp:
      db_password: REPLACE_WITH_DB_PASSWORD
Click the plus icon to run another shell. Route back to your Rails app:
    cd ruby-docs-samples
    cd run
    cd rails
Then fetch your created database password:
cat ~/ruby-docs-samples/run/rails/dbpassword
Move back to your previous shell with the Nano editor opened and add in your Database password.

Exit and save the edited file.
Create a new secret:
gcloud secrets create rails_secret --data-file config/master.key
Get value of project number:
PROJECT_NUMBER=$(gcloud projects describe $DEVSHELL_PROJECT_ID --format='value(projectNumber)')
Grant access to the secret to your Cloud Run service account:
    gcloud secrets add-iam-policy-binding rails_secret \
      --member serviceAccount:$PROJECT_NUMBER-compute@developer.gserviceaccount.com \
      --role roles/secretmanager.secretAccessor
And to your Cloud Build service account:
    gcloud secrets add-iam-policy-binding rails_secret \
      --member serviceAccount:$PROJECT_NUMBER@cloudbuild.gserviceaccount.com \
      --role roles/secretmanager.secretAccessor
With secure access to our secret information in place, its time to connect our Rails app to Cloud SQL and Storage.
Connect Rails App to Cloud SQL and Storage
Run:
cat .env
Then:
    cat << EOF > .env
    PRODUCTION_DB_NAME: $DATABASE_NAME
    PRODUCTION_DB_USERNAME: $DB_USERNAME
    CLOUD_SQL_CONNECTION_NAME: $DEVSHELL_PROJECT_ID:$REGION:$INSTANCE_NAME
    GOOGLE_PROJECT_ID: $DEVSHELL_PROJECT_ID
    STORAGE_BUCKET_NAME: $BUCKET_NAME
    EOF
This will supply the information needed from the services we gave secret access to.
Then ensure Cloud Build can access Cloud SQL:
    gcloud projects add-iam-policy-binding $DEVSHELL_PROJECT_ID \
        --member serviceAccount:$PROJECT_NUMBER@cloudbuild.gserviceaccount.com \
        --role roles/cloudsql.client
Deploy Rails Application to Cloud Run
OK, now its time to deploy our Rails app to Cloud Run.
Get the Ruby image in the Dockerfile to use the same version of Ruby used by Cloud Shell:
    RUBY_VERSION=$(ruby -v | cut -d ' ' -f2 | cut -c1-3)
    sed -i "/FROM/c\FROM ruby:$RUBY_VERSION-buster" Dockerfile
Then use our cloudbuild.yaml file to build the image and run the database migrations:
    APP_NAME=catphotosapp
    gcloud builds submit --config cloudbuild.yaml \
        --substitutions _SERVICE_NAME=$APP_NAME,_INSTANCE_NAME=$INSTANCE_NAME,_REGION=$REGION,_SECRET_NAME=rails_secret --timeout=20m
If it doesn't build in time, increase timeout in the build command above to --timeout=2000s.
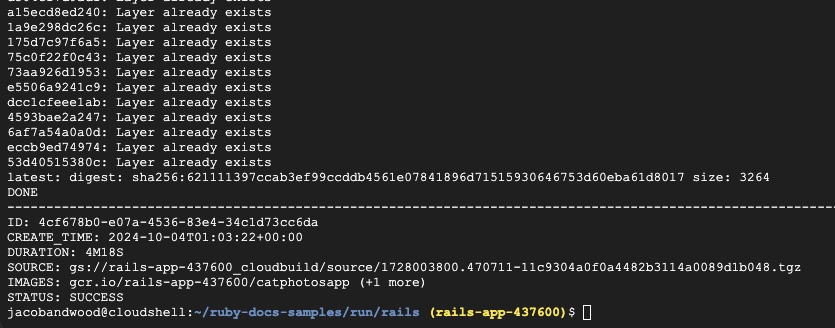
When the build is complete, deploy the Cloud Run service, setting the region, image and connected Cloud SQL instance:
    gcloud run deploy $APP_NAME \
        --platform managed \
        --region $REGION \
        --image gcr.io/$DEVSHELL_PROJECT_ID/$APP_NAME \
        --add-cloudsql-instances $DEVSHELL_PROJECT_ID:$REGION:$INSTANCE_NAME \
        --allow-unauthenticated \
        --max-instances=3

Voila, following a successful deployment head to the URL provided in cloud shell and check out your photo album!

Now its time to add some photos of cats:
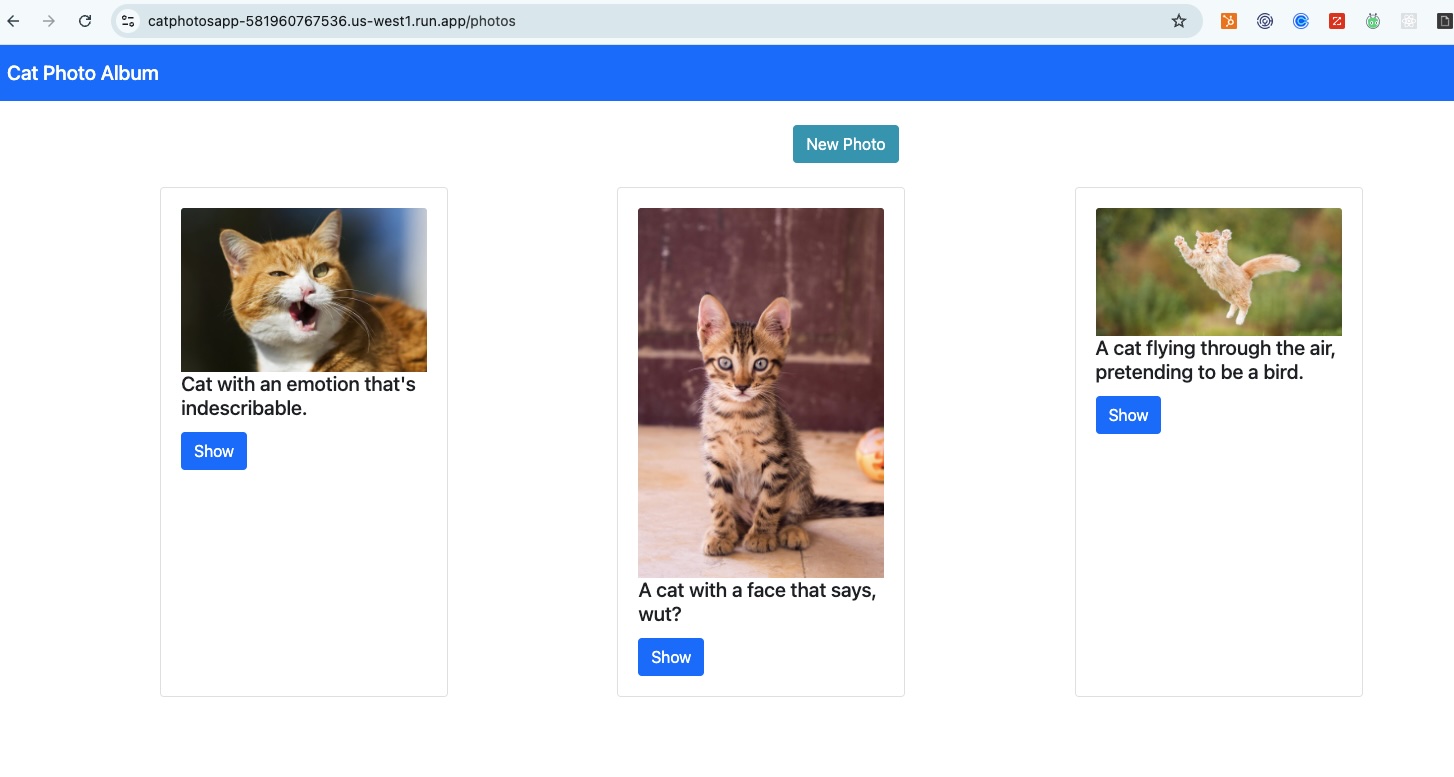
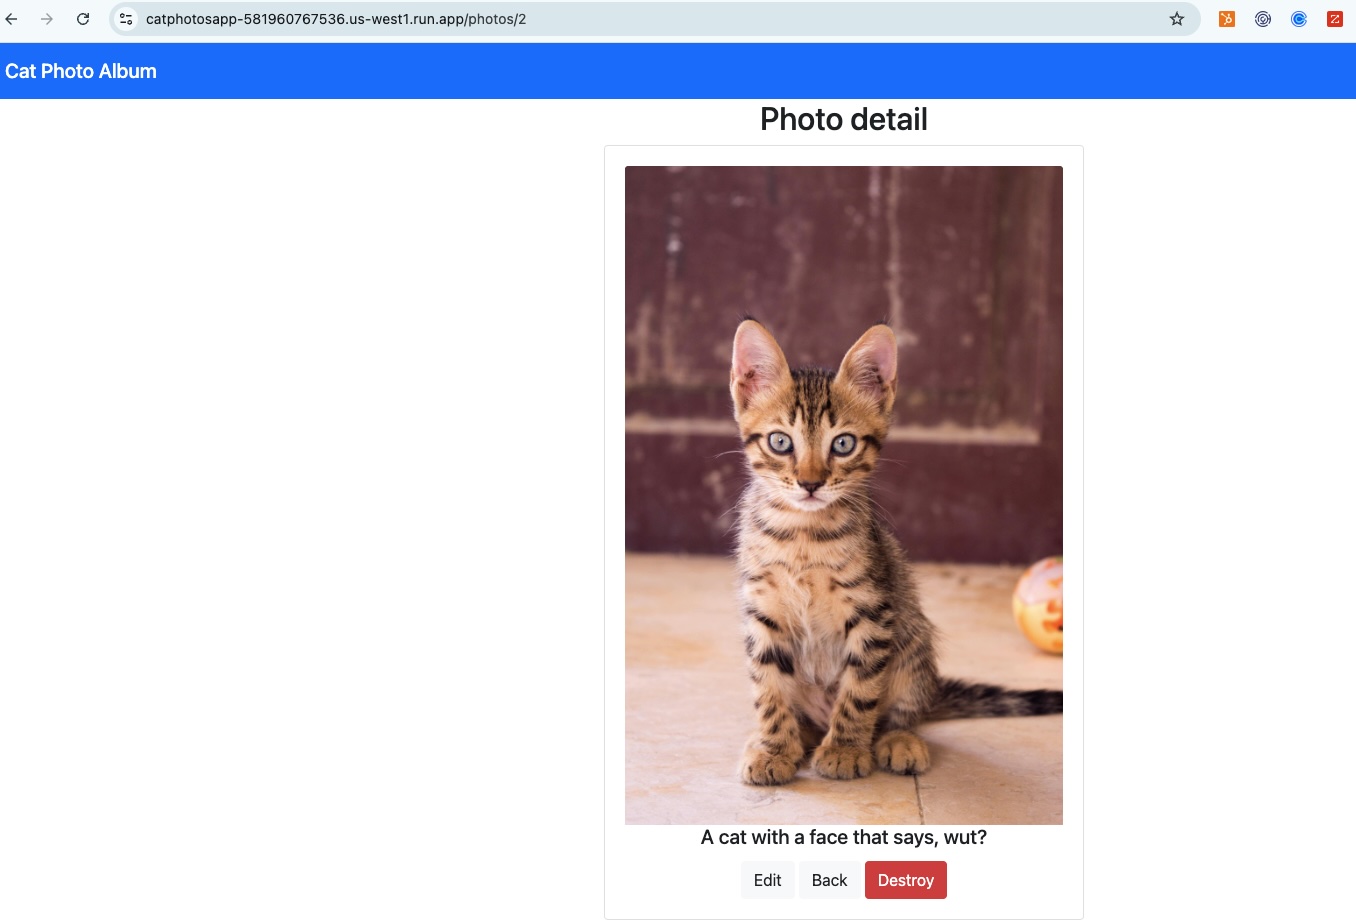
And click into your uploaded photos to see more details:
Congratulations, You Made It!
You'll likely notice that the destroy functionality isn't working but I didn't write the Rails code and this tutorial isn't about the Application but the deployment process.
Please don't forget to delete the project to prevent you from incurring additional charges.
If you're interested in Ruby and Rails applications on Google Cloud Platform, I recommend checking out the following resources:
That's it, any questions on Web Applications, Google Cloud deployment options, Compute solutions or using any of the Google Cloud services used in this tutorial, please email me at jacob@briotech.com.
